Create GitHub Account: If you’re looking for a web-based centralized system for repositories, GitHub is a great option. With millions of users and projects, finding someone who hasn’t used GitHub before is rare. In addition to hosting repositories, GitHub provides features like issue tracking and code review. To get started, all you need is a GitHub account.
In this chapter, we’ll learn how to create a GitHub account and log in. GitHub will help contribute to the world where so many collaborations happen daily.
Create GitHub Account
Setting up your GitHub account is a quick and easy process. Visit GitHub’s official website to get started. Here is the official website link.
Once the Official website opens, you need to click the signup link.
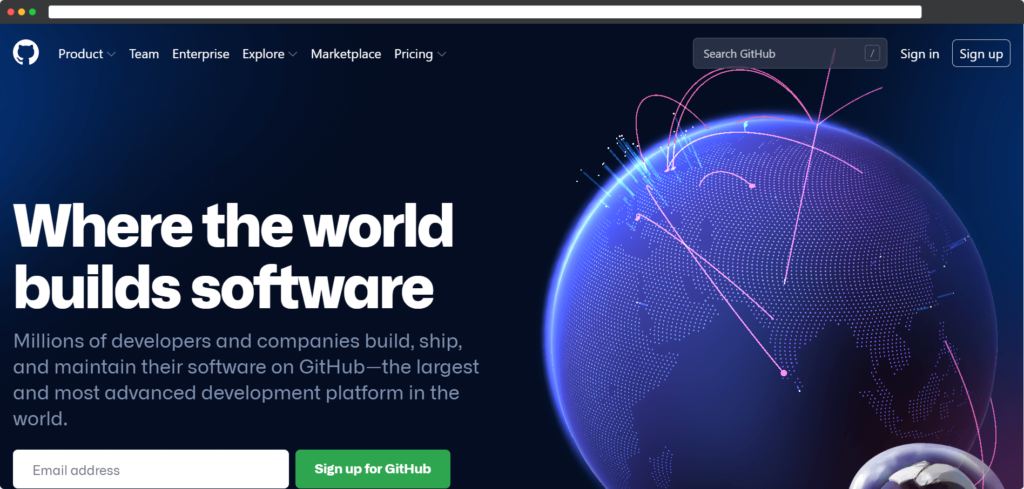
It will redirect the user to the registration page, where you must enter the email ID.
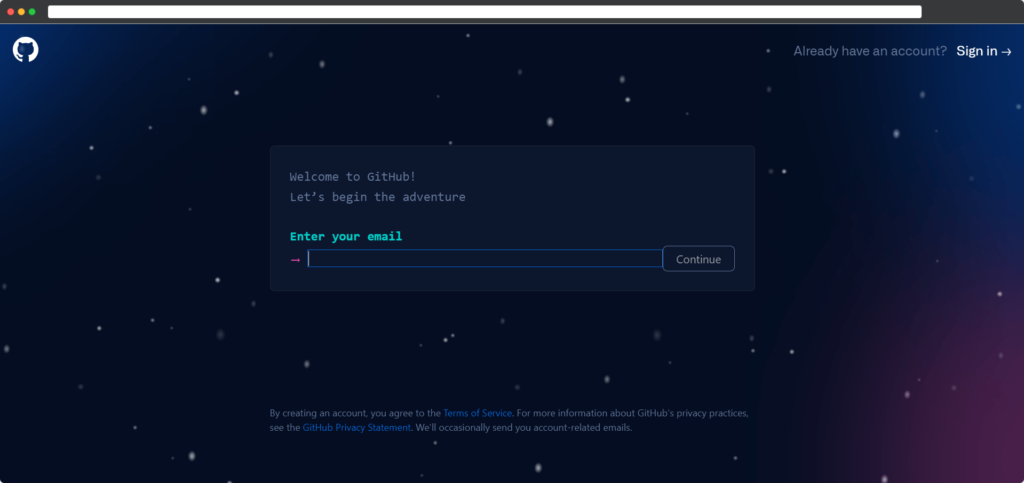
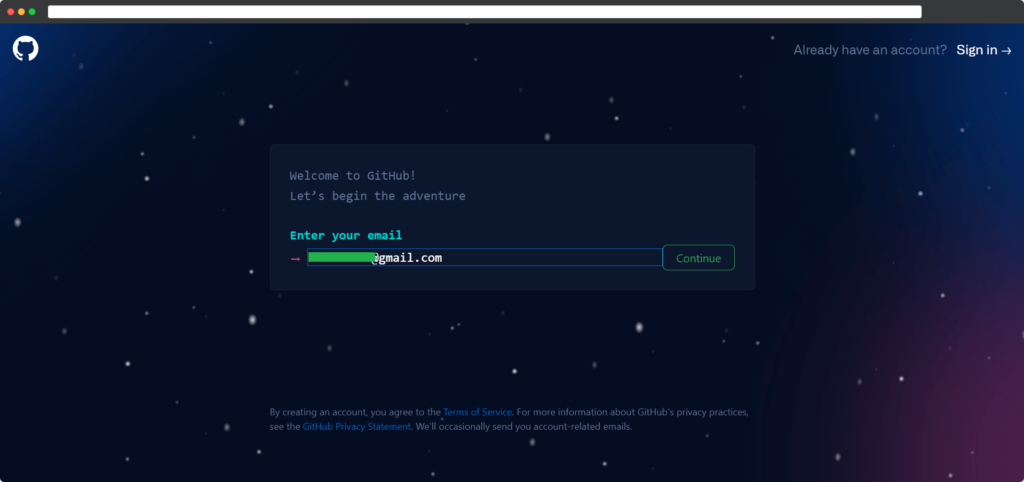
Enter the Email ID on which you want to create your GitHub Account and click on the continue button.
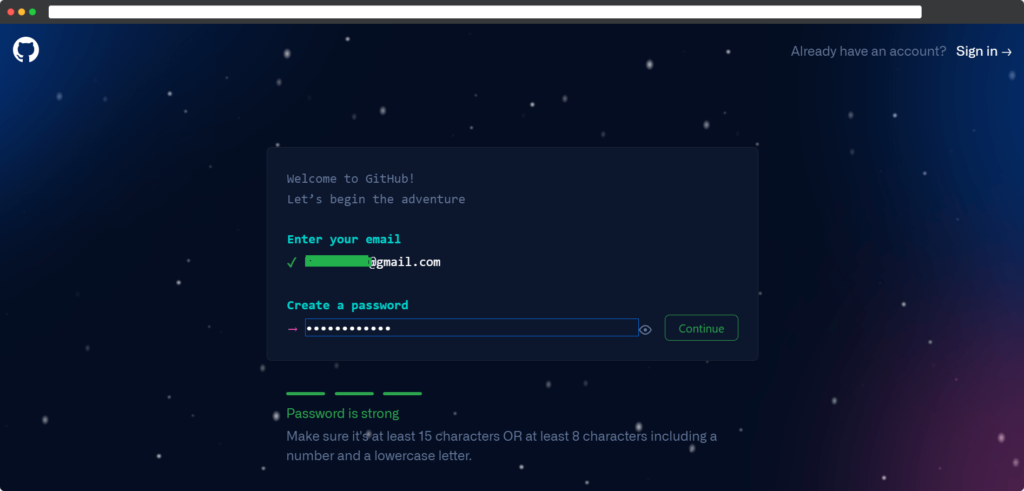
Now you have to enter the Password and Click the Continue button.
After entering the email and password, you must enter a username to access your account with that username. And Click the Continue button.
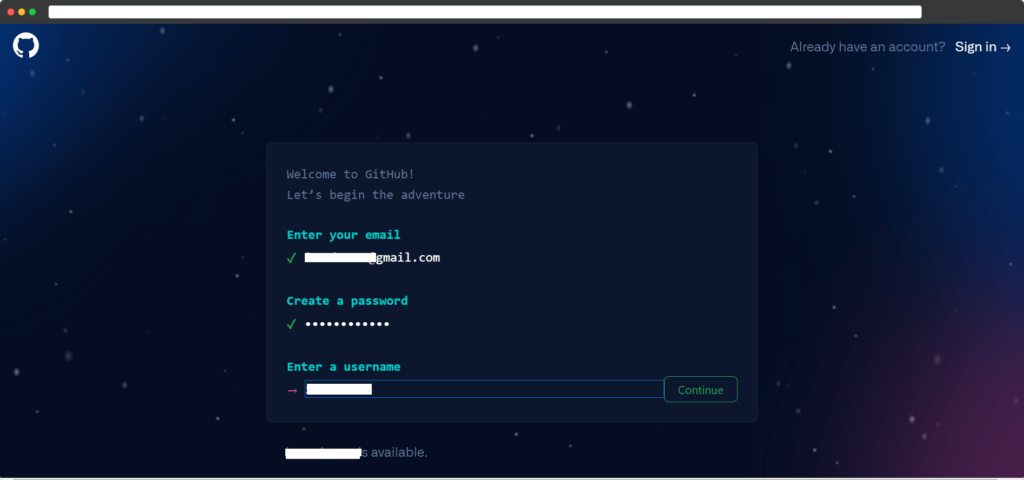
Finally, it is asking you about email notifications. So here you can Choose Yes (If you want) and No (If you don’t want). For Yes, you must enter “Y” and “N” for No. And Click Continue.
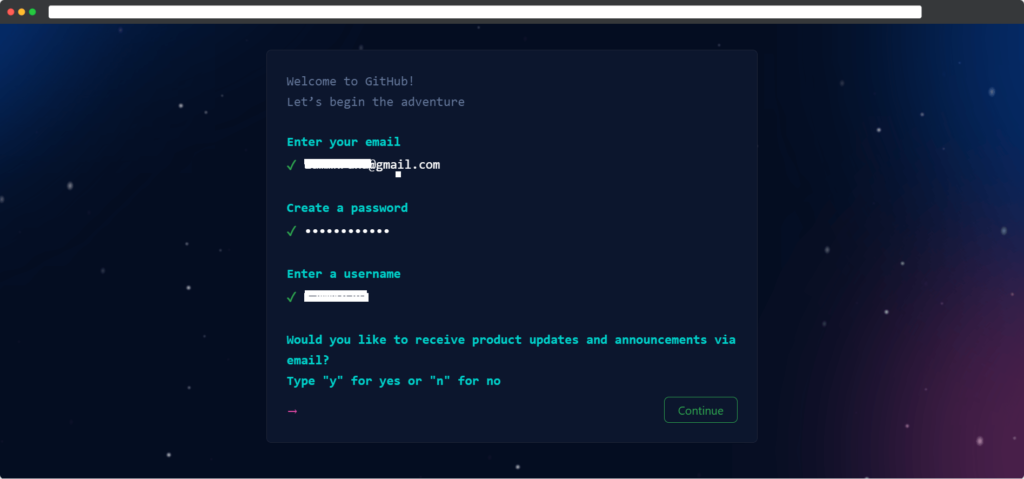
Now, you have to solve a puzzle to verify whether you are a human or a bot.
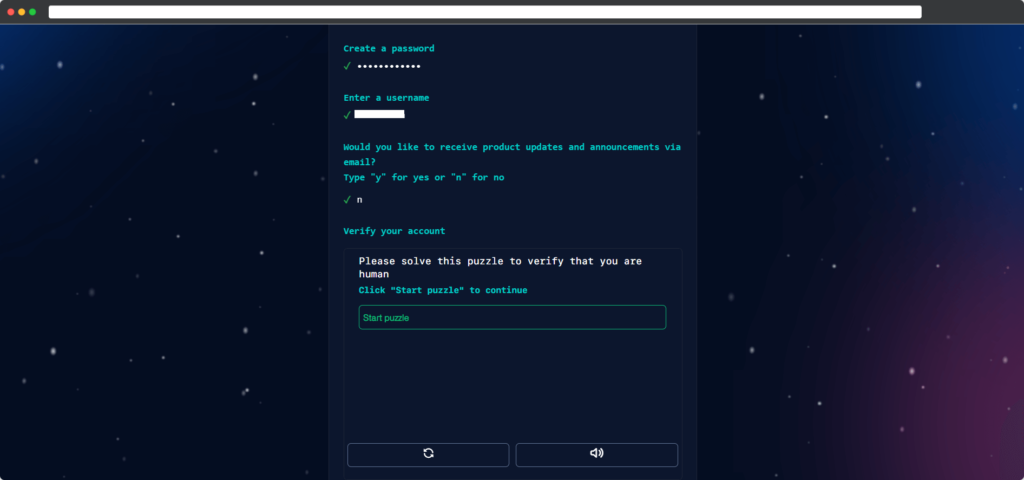
After solving the problem, you need to click on the create account.
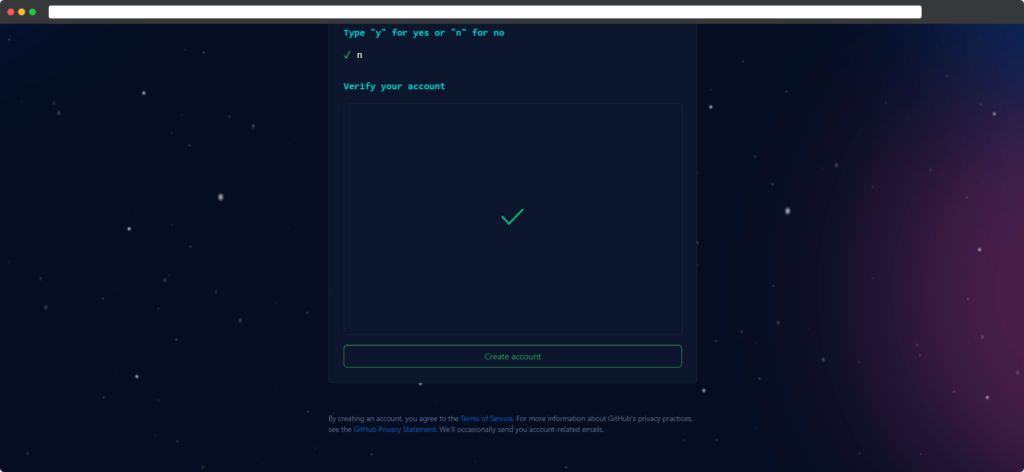
After clicking on Create an account, GitHub will send you one verification code. You have to enter the verification code to activate your GitHub account fully. After entering the activation code asks you to choose some personalization options. After Select, you can click on Continue.
It Gives a Few Other personalization options, and you can select those. Or you can skip the personalization.
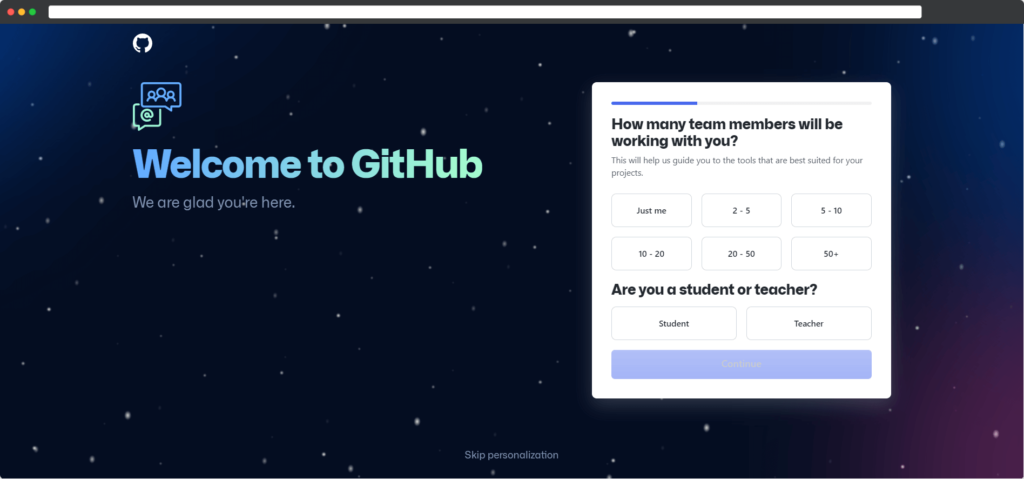
After skipping the finalization setting, You will land in your GitHub account, which will look something like the picture below.
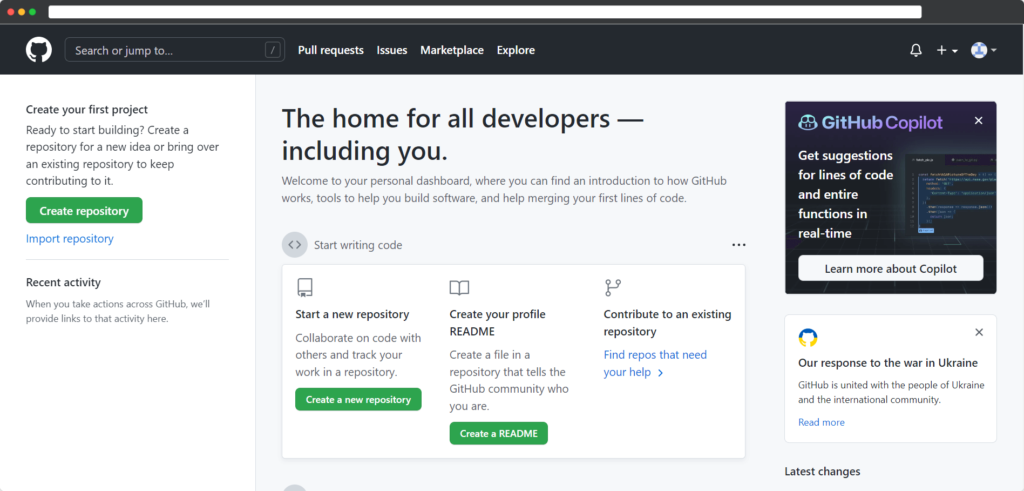
If you’re starting with GitHub, the free plan is more than enough for most projects.
GitHub Pro is the plan for you if you’re looking for a more private repository with plenty of contributors. With GitHub Pro, you can access advanced tools like protected branches and graphs showing insights into your repositories, including information on contributors, traffic, commits, etc. To learn more about what features are available in the GitHub Pro plan, visit this link.
GitHub Account Dashboard
Good news, you’ve completed the first step! Now that your GitHub account setup is complete, you can log in through your credentials on the GitHub website. Logging in will land you on your personalized GitHub dashboard tailored to your interests.
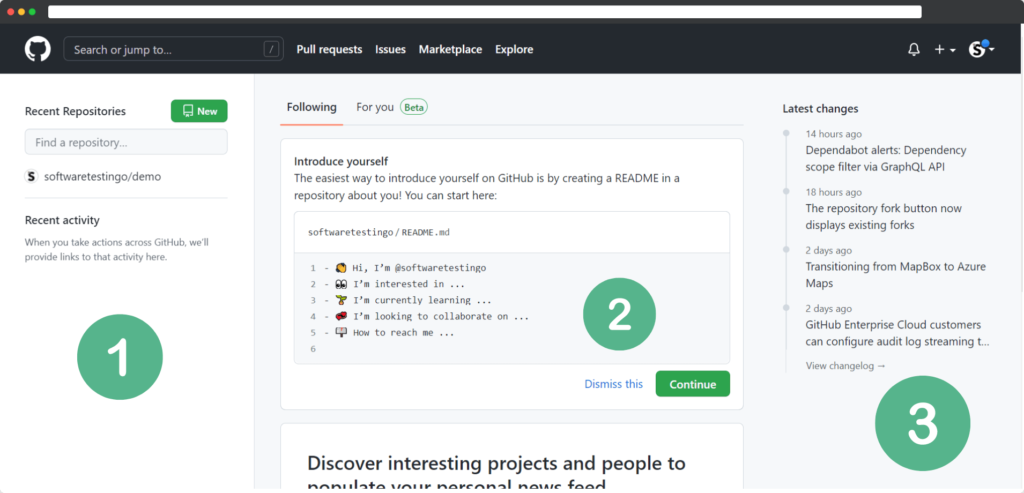
If you see the above pic, then you can notice the GitHub dashboard will have three sections. That is:
- GitHub Repositories
- GitHub Feed
- GitHub Discover Repositories
GitHub Repositories: You’ll find all the repositories you’re working on in the GitHub repositories section. You can toggle between them quickly to start working on them again.
GitHub Feed: If you’re ever curious about what’s happening on your GitHub account or want to stay up-to-date on the repositories of people you follow – you can check out the GitHub feed. This stream includes all recent private and public activity from every repository connected to your account. So, if someone you’re following creates a new repository or updates an existing one, you’ll see it in your feed.
GitHub Changelog: In this section, users can find the changes happening on GitHub. By following the links, you can find out the details.
