Automation Environment Setup – Selenium WebDriver: Welcome to another new post of the Selenium Tutorial series. In the last post, we discussed the different components of selenium and Selenium introduction. You can follow the link to read that if you have not checked yet. In this post, we will learn how to download Eclipse and set up Selenium WebDriver and Eclipse in your Machine so that you can start execution and practice.
Java Automation Environment Setup
We are Writing our selenium automation script in Java; we need to install Java on our system, so to install Java properly in your system, you can follow the below posts:
- Java Installation on Windows
- Set JAVA_HOME on Windows
Selenium Eclipse Setup
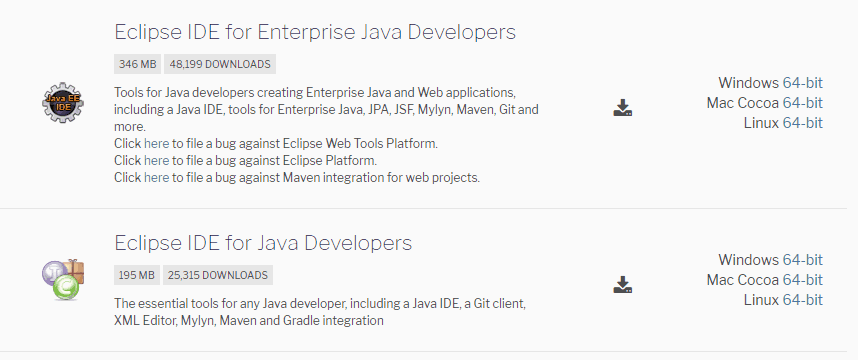
Eclipse is one of the famous editors mainly used for writing different programming languages and executing those programs. So, to Download the latest version of Eclipse, follow the Eclipse Download link. Download the appropriate version per your system configuration (32 or 64-bit). Also, different versions of Eclipse are available, and you can download any of them.
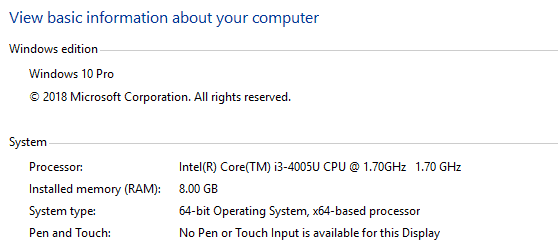
If you have no idea what operating system to use, you can go to My Computer – properties. There, you can find your system configuration details.
Setup Selenium WebDriver Client | Selenium Jar Download
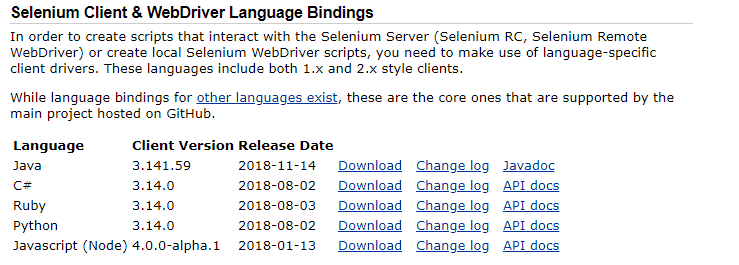
To download the latest version of Selenium webDriver, you can visit the Selenium Official Website Selenium.dev, where you can download the latest version of Selenium webDriver. After Visiting Selenium’s official website, you need to go to “Selenium Client & WebDriver Language Bindings”. There you can find different languages. Selenium is present, and as per our requirement, you need to download the Java Version. You can use this link to download other versions of Selenium Webdriver.
After successfully downloading it, unzip it to a directory as a library folder.
Configure Eclipse With WebDriver ( Install Selenium Webdriver )
- You can launch the Eclipse by double click on the “eclipse.exe” file inside the “eclipse” folder.
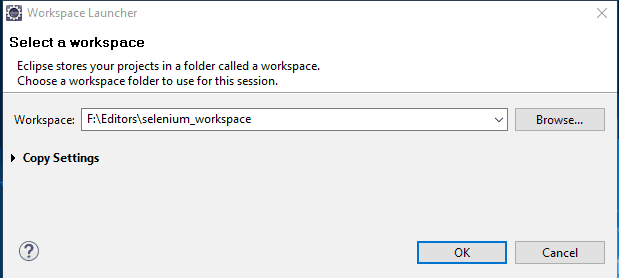
- When you execute it for the first time, it will ask you to select the workspace, accept the location, and click ok.
- Click File – New – Other- Type Java Project in the text box and click Next.
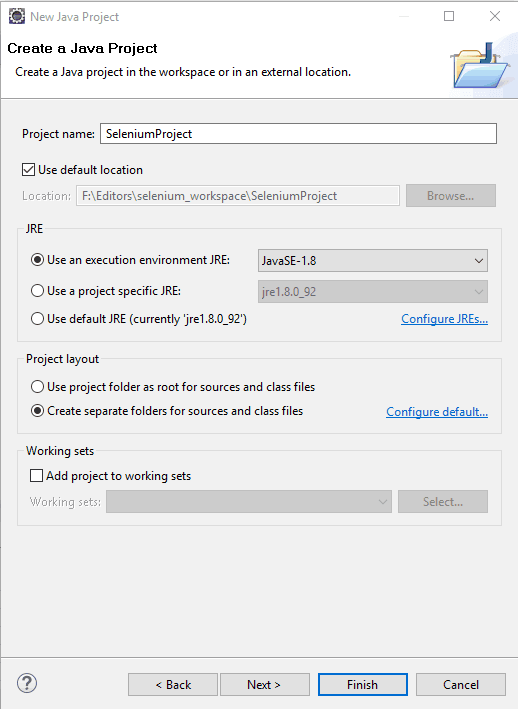
- You Will get a Create a Java project popup, enter the project name, keep the other configuration as it is, and click finish.
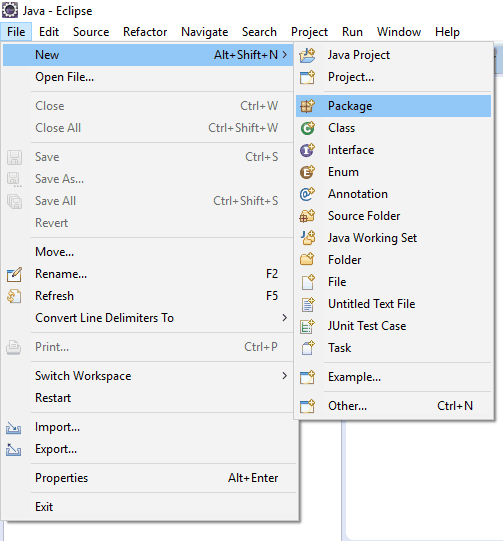
- Right-click src – New – Package – <name of package>. This will create a new package.
Selenium Webdriver install in Java Project
After successfully installing Eclipse, the next task is to add the selenium jars you downloaded from the Selenium Official website. On the official website, the selenium Jars are available in 2 places.
- Selenium Jar Having all the jar files, you will get multiple associate selenium jar files. you can download it from the location below.

- Selenium also shares another version of Jar files, called a Standalone jar file, which is a single file that has all the required files in it. You can download it from here.

How to Add Selenium Package
After downloading those Jar files to add to your Eclipse project, you follow the below steps.
Right-click project name – Build Path – Configure Build Path – Libraries – Add External Jar – navigate to the path where jar files are kept (libs folder) – Select the jar file – Click on Apply – Click OK. This will import Selenium jar files.
If you have added the single standalone jar file and if you have added all the Jar files, then that looks like the picture below.
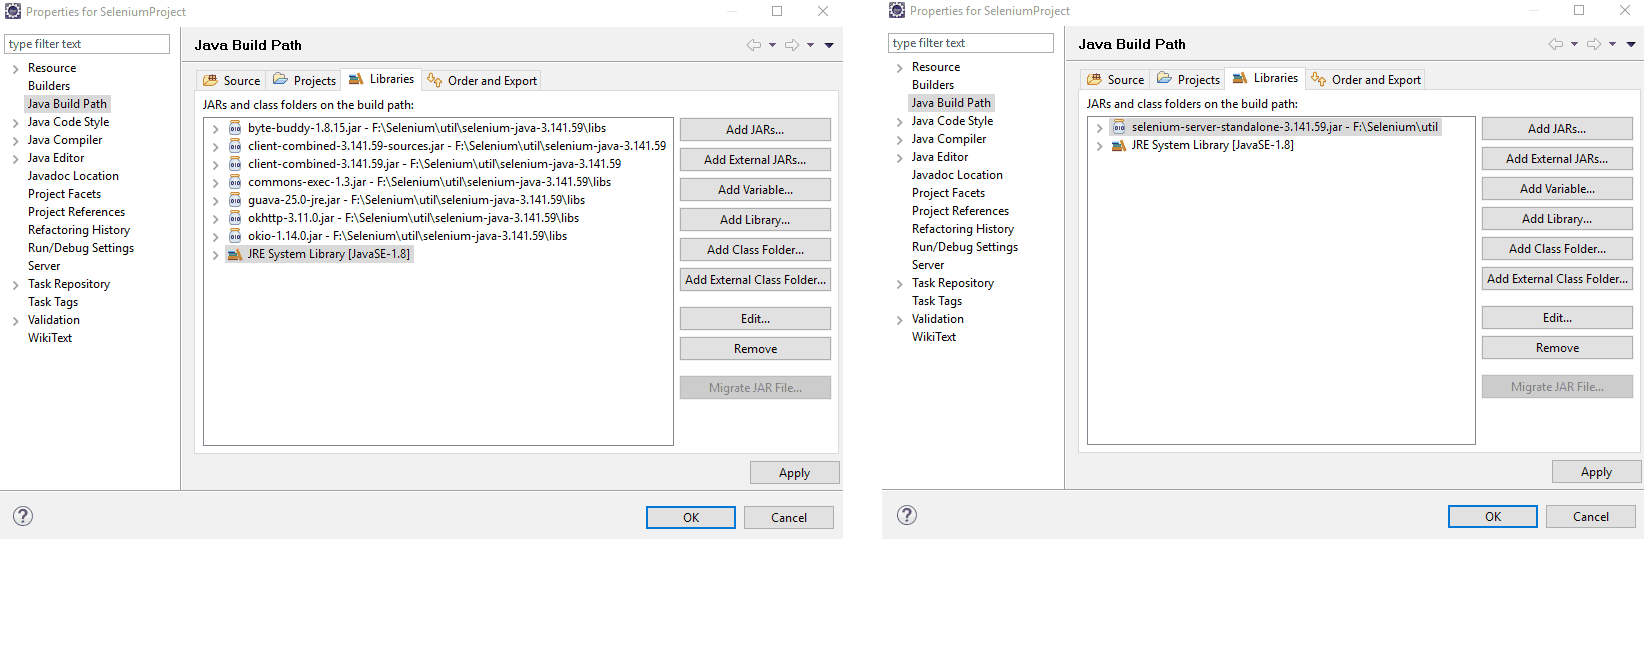
Note: After Successfully importing all the jar files, when you click apply and ok in your eclipse editor, you can find another new library will be added in the name of “Referenced Libraries,” and inside that, you can find all your added jar files.

Following the above steps, you can set your Environment for Java, Eclipse, and Selenium WebDriver; if you face any issues, you can comment in the comment section; we are happy to help you.

Hi,
I am facing problem with Automation setup (I tried many times) but there is plugin or build related issue.
Could you help me about the same.
Thanks
Vinay Tirpude